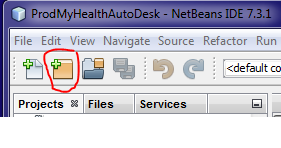
1. Click the "New project" icon or it is listed under File toolbox.
2. Select the Maven folder under categories and then select Java application.

3. Finish the setup by choosing the name and file location you want for the project.
4. Now that the project is created, open the pom file located in the Project Files folder of the project.

5. Add the selenium dependency. Check the selenium site for the most current version.
<dependency>
<groupId>org.seleniumhq.selenium</groupId>
<artifactId>selenium-java</artifactId>
<version>2.32.0</version>
</dependency>
6. Clean and build the project. It will take a little longer because it will download the selenium tools to the project.